Shop
Create Account

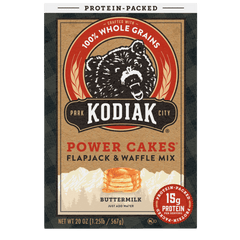
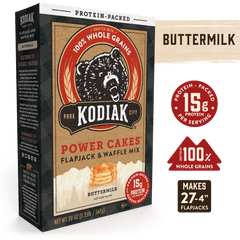
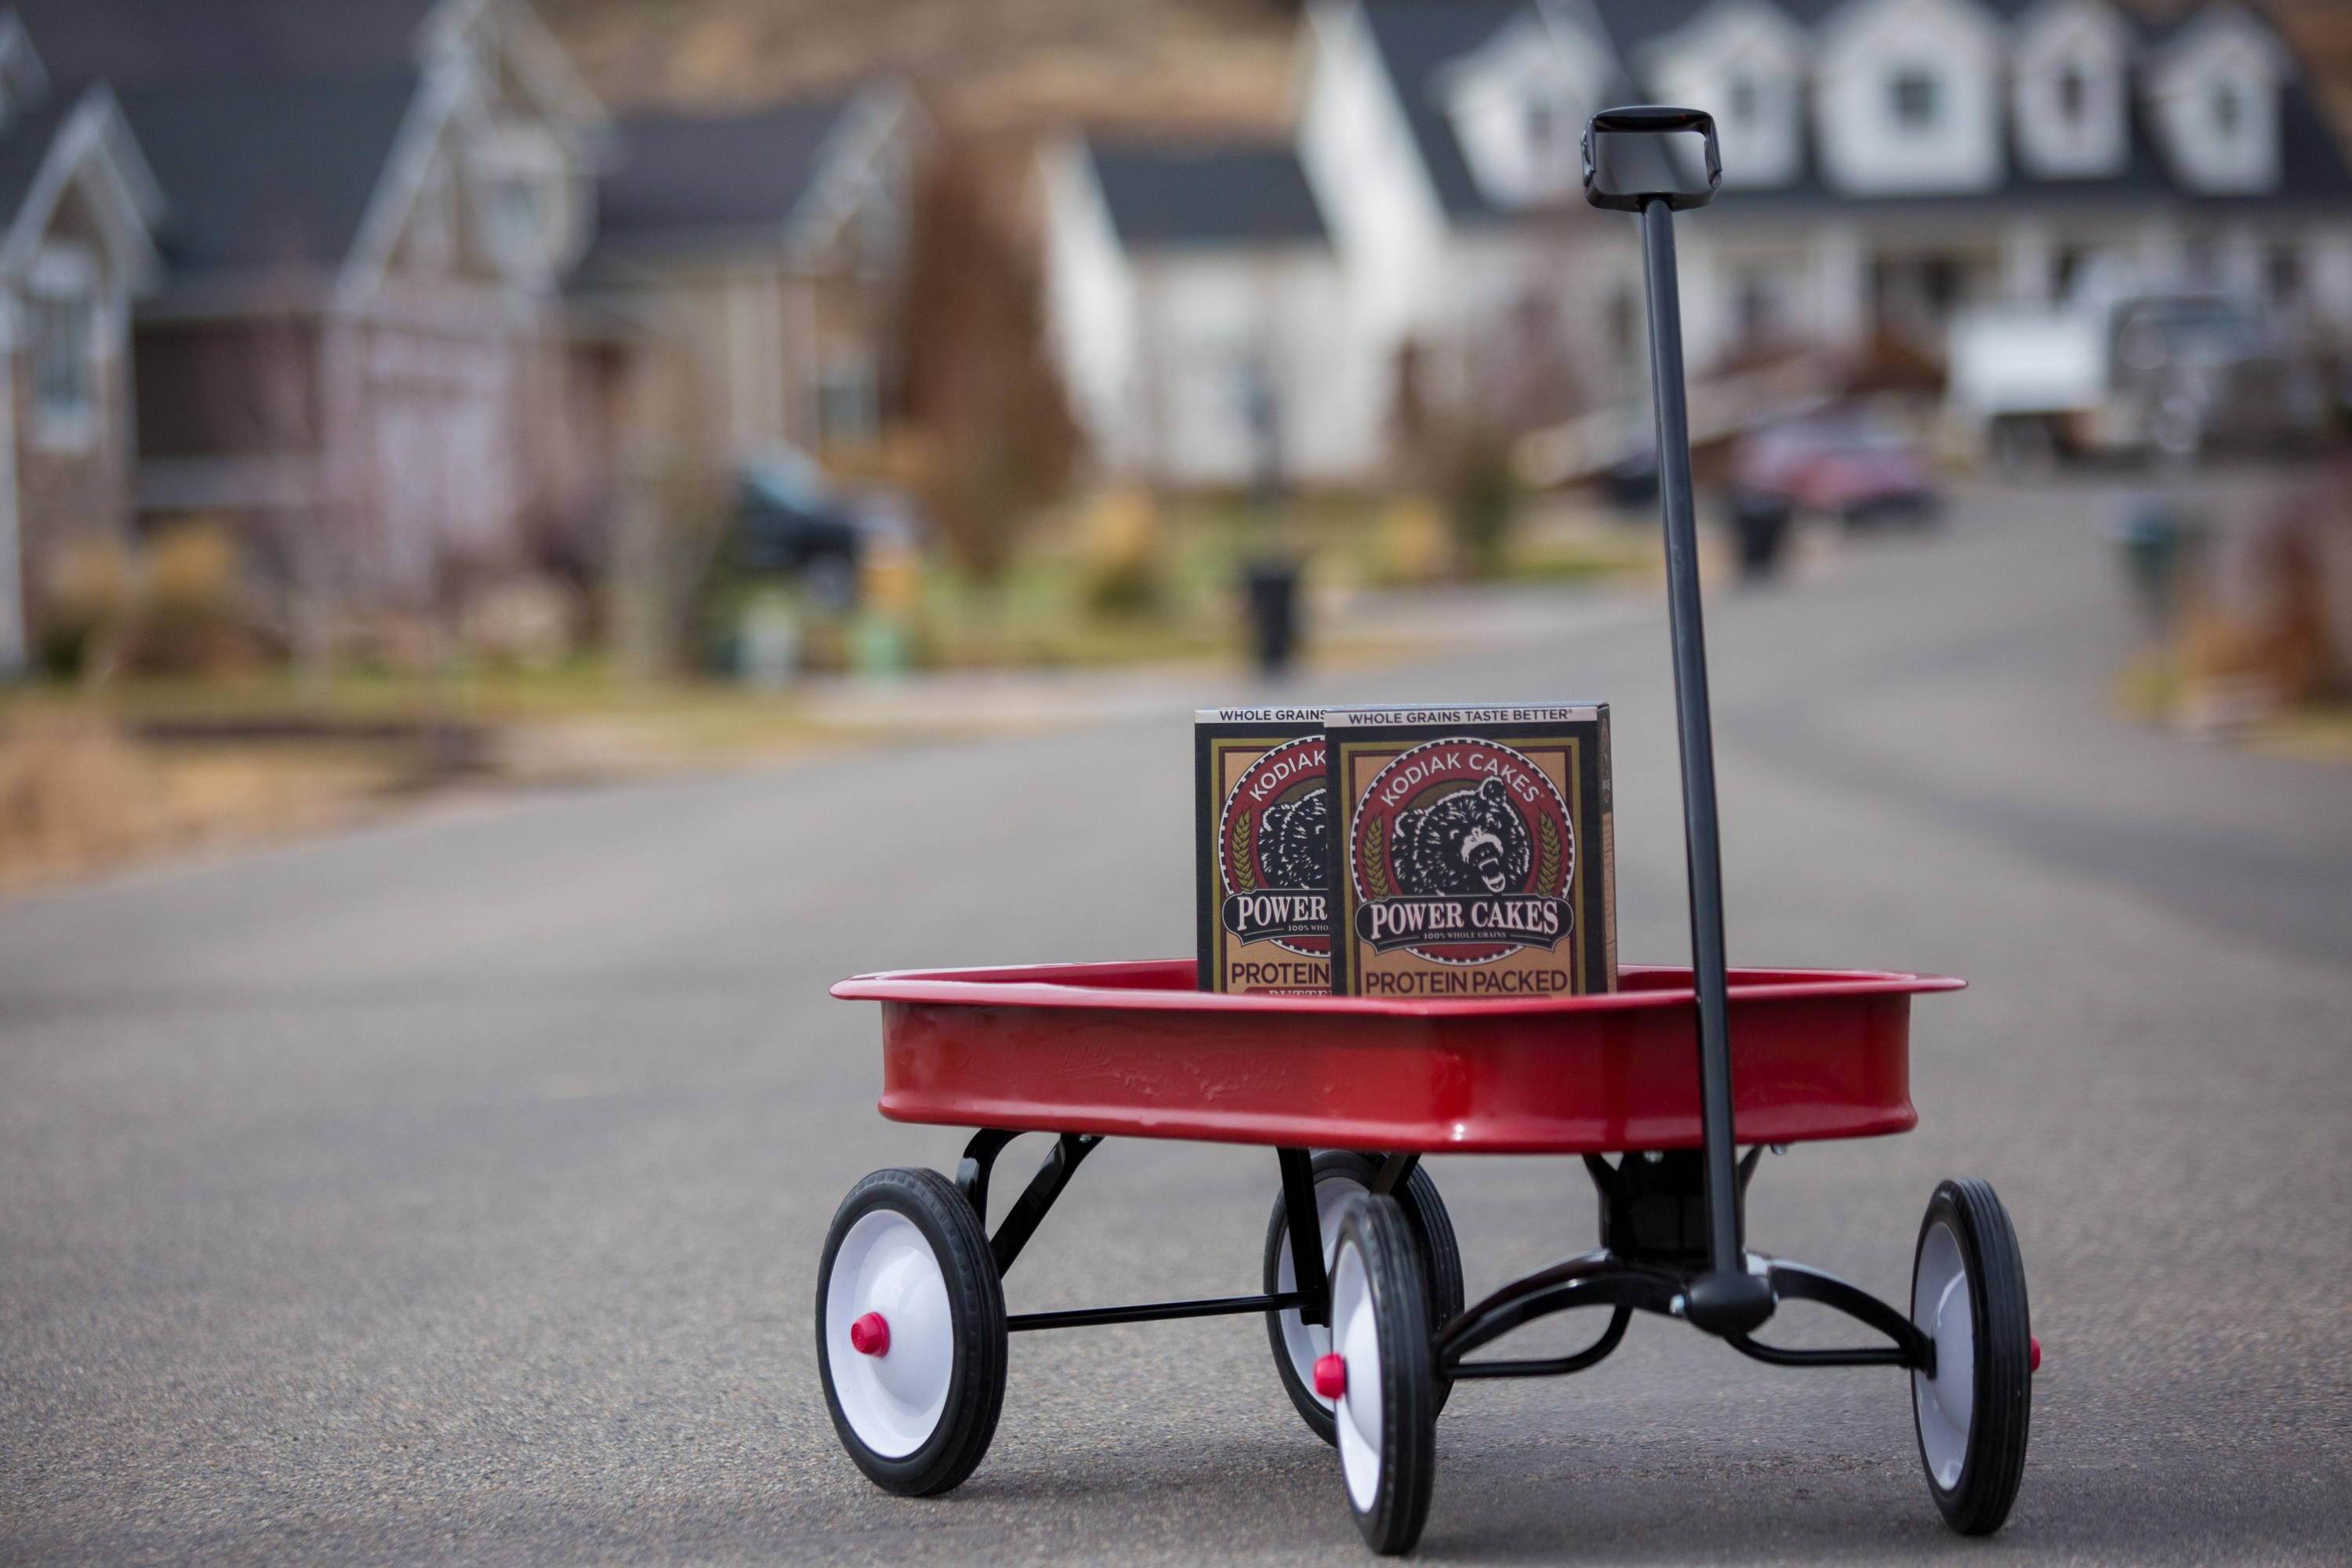
4 DIY BACK-TO-SCHOOL CRAFTS

It’s just about that time of year when you and your cubs need to put together a list of back-to-school supplies to ensure they have a successful school year. To help you out, we’ve got four eco-friendly back-to-school items that you and your little ones can make at home using Kodiak Cakes packaging and a little creativity!

PENCIL BOX

Here’s what you’ll need:

Making your pencil box:

  1. Open a Kodiak Cakes box at the seams and flatten it out.
  2. Cut out the pencil case template, trace around the edges on top of the flattened box and cut the shape out of the Kodiak Cakes box.
  3. Mark the score lines on the Kodiak Cakes box with a pencil where they are indicated on the template.
  4. Fold up the pencil box at the score lines and tuck the bottom tab inside the bottom of the case. Use a small piece of clear tape to secure the tab in place. Then place tape along the long side of the box.
  5. Attach one side of the self-adhesive Velcro hook and loop faster to the inside of the top flap where the box opens. fold the flap down to help guide you where to put the other side of the hook and loop fastener on the front of the box.
  6. Fill your new pencil box with your new pencils!

HOMEWORK CADDY

Here’s what you’ll need:

Making your caddy:

  1. Place the Kodiak Cakes boxes you plan to use for your caddy side by side and tape the bottoms together with duct tape.
    • Pro tip: let your little hold the boxes together while you tape or vice versa.
  2. Use scissors to trim down the top of each box to your desired height – we like to have different levels for different things.
  3. Put plenty of tape between the boxes to secure them together or wrap tape over and around the surface of the boxes and just inside the rim to really bring them together.
  4. To convert the front pocket into a pencil caddy, insert a few empty cardboard tubes trimmed to size. This will help keep pens, pencils, or markers standing upright.

NOTEBOOK

Here’s what you’ll need:

  • Empty Kodiak Cakes Flapjack & Waffle Mix Box
  • Paper for the Notebook Pages
    • We suggest 20 pieces of 8.5″ x 11″ computer paper, lined paper, or graph paper
  • Scissors
  • Ruler
  • Pen
  • Glue stick, Tape Runner, or Double-Sided Tape
  • Needle and thread (or Embroidery Floss)
  • Button

Making your notebook:

  1. Cut Kodiak Cakes box to create a cover. You can make it whatever size you wish!
  2. Fold your new notebook cover in half or glue the front and back together.
  3. Run thread through the needle and sew the button to the front of the notebook and leave about 20 inches of thread hanging. *This will be used to wrap around your notebook to close.
  4. Trim the notebook paper down so each page is slightly smaller than the notebook cover (about 1/4″ shorter on all sides).
  5. With the needle and thread, stitch the paper to the notebook down the spine.

BOOKMARKS

Here’s what you’ll need:

Making your bookmark:

  1. Open a Kodiak Cakes box at the seams and flatten it out.
  2. Cut the box into about 1.5” x 6” strips. You can use an old bookmark to trace the exact size you want as well.
  3. Round the corners of your new bookmark if you wish.
  4. Punch a hole at the top of your bookmark and thread it with your favorite or matching ribbon.

What other back-to-school crafts do you have planned this year? Share your creations with us on social media by tagging @kodiakcakes.com.

Share this article —

You Might Also Enjoy...